Easy Tissue Paper Poppy Craft for Kids
If you need an easy craft for kids to celebrate Memorial Day, Remembrance Day, or Veterans Day, this tissue paper poppy craft for kids is hard to beat.
It’s fun, simple to prep, and looks so pretty on display when it’s finished. Plus, it’s easy for kids to customize and make it their own.
Let’s get started. I’ll go over everything you need and walk through the process step-by-step to make this paper poppy flower. Plus, I have a few tips to share from making them at home with my kids and in the classroom.
What Is a Tissue Paper Poppy Craft?
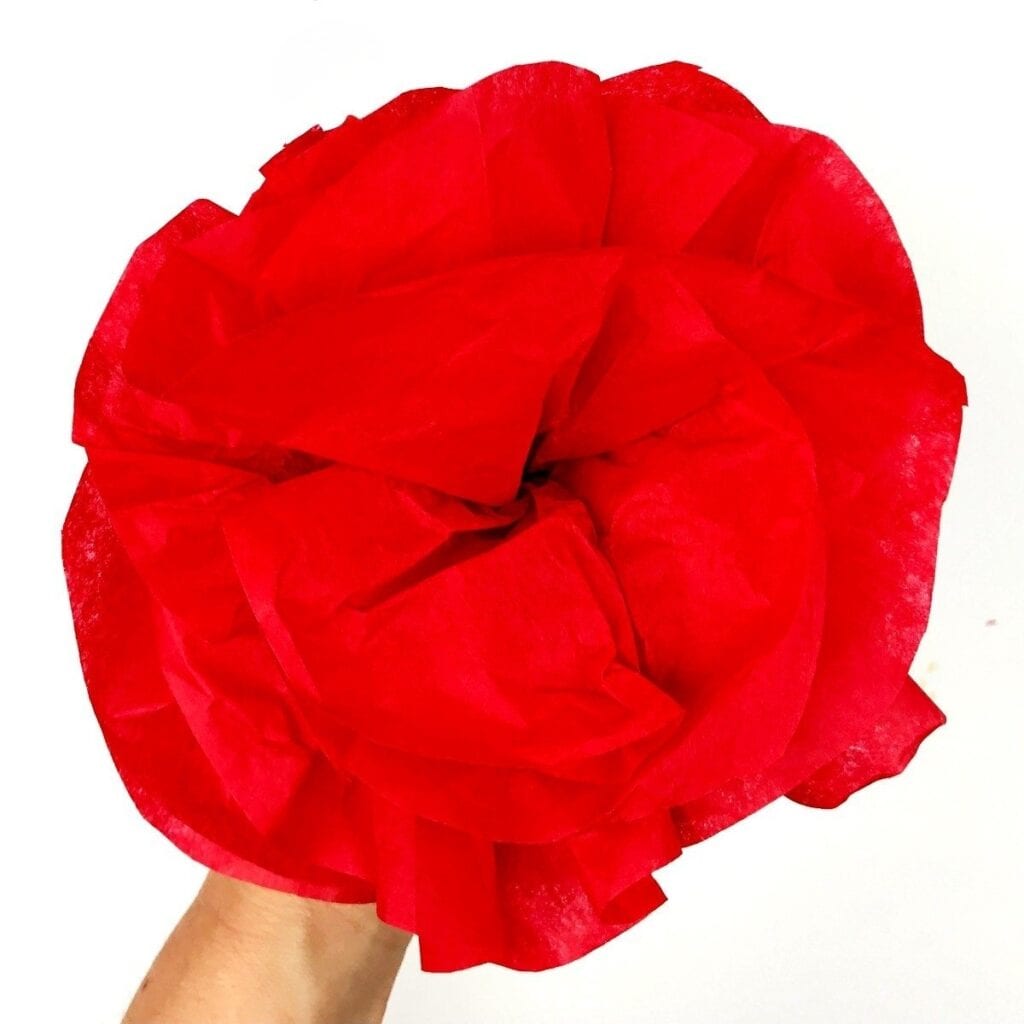
This paper poppy is a handmade flower craft that uses layers of red tissue paper.
The basic technique involves layering sheets of tissue paper and bunching them together to create a full, fluffy poppy flower.
This craft works great for:
- Preschool, Kindergarten, and first grade classrooms
- Homeschool spring or garden units
- Memorial Day, Remembrance Day, and Veterans Day activities
- Spring bulletin boards and displays
What Supplies Do You Need for a Poppy Craft?
One of the best parts of this craft is that it doesn’t require many supplies. Here’s what I recommend:
Materials:
- Red tissue paper (1-2 full sheets per flower)
- Black tissue paper, black pom pom, or black button (for the flower center)
- Scissors (adult-guided for younger kids)
- Glue
- Green pipe cleaner (optional, for stem, one per flower)
- Green cardstock or construction paper (optional, for cutting leaf shapes)
That’s it! You can find tissue paper and pipe cleaners at dollar stores, craft stores, Walmart, or Amazon.
If you’re doing this art project with a whole class, one pack of each goes a long way. I’ve made this craft using only one piece of tissue paper per flower and it works just fine.
And, if you want to change it up, you can use orange, pink, and yellow tissue paper to make a colorful bouquet. This looks really nice if you’re displaying the poppies all together.
I’ve seen the “real craft people on YouTube” (you know, the ones who have their craft supplies meticulously organized by color in their aesthetically-pleasing craft room) use white tissue paper and then paint or color the petals red. I’m sure that works too, but that’s entirely too messy and involved for the times I’ve made them with kids.
How Do You Make A Tissue Paper Poppy Craft for Kids?
I’m sure there’s plenty of ways to make a paper poppy using these same materials, so feel free to experiment. However, if you’re looking for step-by-step directions, here’s how I’ve made this easy poppy craft for kids.
Step 1: Cut out the petals from the tissue paper
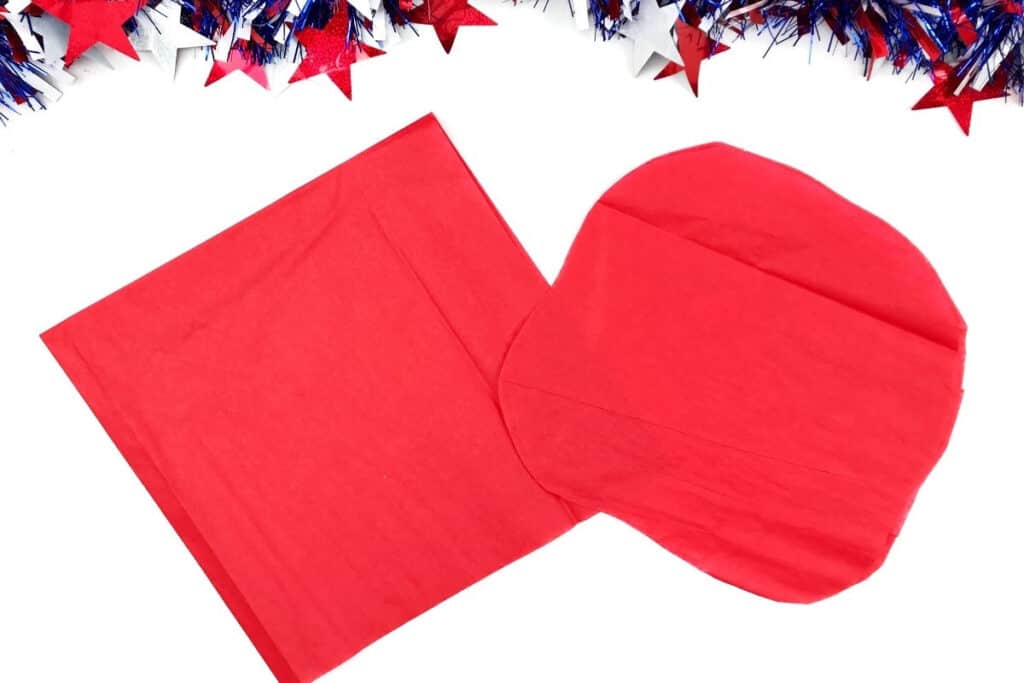
Take 1-2 sheets of red tissue paper and fold the paper into a 10″x10″ square.
Use scissors to either cut out a circle or a rounded petal shape, similar to the shape of a poppy petal.
The petals don’t need to be perfect. In fact, I think irregular shapes make the flower more natural looking.
Classroom tip: pre-cut the tissue paper before class to save time. It takes about 2 minutes per stack, and it makes the craft much smoother with younger kids.
Step 2: Form the flower base
Take the top sheet of tissue paper and crumple it into a ball to form the center of the flower.
Layer additional petals around the center, crumpling them slightly as you go to give the flower dimension.
Continue adding petals until you’re happy with the fullness of the flower.
This is a step that most kids can do by themselves once they get the hang of it. Younger kids (preschool) may need some guidance, but it doesn’t have to be perfect.

Step 3: Attach the center of the flower
Real poppies have a distinctive dark center. To recreate this, try one of the following:
- Cut a small circle of black tissue paper (about 2–3 inches) and ball it up loosely. Tuck it gently into the center of your flower.
- Use glue to attach a black pom pom or black button to the center of the flower.
Both options work great as the poppy’s dark center, but I like using a pom pom or button the most. There’s no additional cutting involved, it’s faster, and it holds up better, especially with little kids.

Step 4: Create the stem and leaves (optional)
If you want to add a stem and leaves to your poppy, take a green pipe cleaner and twist one end around the back of the flower.
You can add glue to the looped end of the pipe cleaner at the back of the flower if it’s loose and looks like it’s going to fall off.
Next, cut out leaves from green paper and glue them to the stem.
Step 5: Let the flower dry
If your kids are going to use the poppy for play or to display, make sure it’s dry before they pick it up.
Really…ask me how I know this tip! This really does deserve its own step.
Step 6: Display or wear the poppy
When the poppy craft is dry, it’s ready to use!
How to Display Your Tissue Paper Poppies
You have a few options here. Obviously, the kids can just play with it as is, but here’s a few more ideas:
- Take-home gift for parents
- Place in a vase (if you added a stem)
- Wear it as a pin (attach a safety pin to the back of the flower)
- Add it to a bulletin board (with pins or tape)
- Simply display it on a table or tape it to a wall as a decoration
Tips for Making This Craft Go Smoothly
A few more things I’ve learned from making these with my own kids:
- More layers = fuller flower. If your flower doesn’t look full, add another sheet of tissue paper.
- Smaller sheets = smaller flowers. Cut sheets smaller for smaller flowers. If you’re adding the flowers to a small vase, I would use 6-8” squares.
- Tissue paper is fragile. Remind kids to gently crinkle the paper.
- The pipe cleaner does double duty. It holds the flower together and makes a sturdy stem.
- Make a bouquet. These look so cool in a vase or hung on a bulletin board when there are several displayed together.
What Age Is This Craft Good For?
This tissue paper poppy craft works best for ages 4 and up.
Preschoolers can do the folding and crinkling with adult help. For the most part, this craft can be completed independently in kindergarten and first grade.
Here’s a quick guide:
- Ages 3-4: Adult preps and secures the pipe cleaner; child crinkles the paper.
- Ages 5–6: Child can do most steps with light adult guidance with glue.
- Ages 7+: Fully independent with minimal supervision.
For a whole-class project, this takes about 15–20 minutes if supplies are prepped. It’s a great option when you have a limited activity window.
Why Make Poppies? Connect the Craft to Learning
Poppies are pretty, red flowers that are also a meaningful symbol for Memorial Day, Remembrance Day, and Veterans Day.
The red poppy became a symbol of remembrance for fallen soldiers after World War I. You don’t need to go deep into history for young kids, but even a simple conversation about why we wear poppies adds meaning to the craft.
Poppies also work just as well as a flower craft for spring or garden-themed units.
They’re a real flower that kids can learn to recognize. Poppies are perennials in zones 3-8, so if you plant them outdoors, they will come back year after year. My kids know them because of their large, red flowers.
Ready to Make Your Poppies?
This tissue paper poppy craft is actually easy to set up and make with kids of almost any age.
Obviously, younger kids will need a little more help, but older kids can really make this paper craft their own by choosing different color tissue paper and using markers to add more detail to the flowers.
So, grab some tissue paper and pipe cleaners and give it a try! If you make these with your class or your kids, I’d love to hear how it goes.
Happy crafting! 🙂
Looking for more easy crafts for kids?
Check out these posts: